
Last Updated: August 13, 2026
Contamination in peptide vials compromises research integrity and can render your entire batch unusable. The rubber stopper is the primary barrier between your compound and the external environment. Every needle puncture risks introducing pathogens and bacteria that accelerate microbial growth and degrade peptide stability.
Proper sanitization of the peptide vial stopper is foundational to aseptic technique. A single poorly sanitized injection site can compromise multi-dose vials or ruin single-use preparations. This guide walks you through exactly how to sanitize a peptide vial stopper the right way, so you protect your compounds and your research timeline.
You’ll need 70% isopropyl alcohol, this concentration is critical. Lower concentrations don’t kill pathogens effectively; higher concentrations evaporate too quickly to allow sufficient contact time for disinfection. Sterile alcohol pads pre-saturated with 70% isopropyl alcohol ensure consistent concentration, though bulk isopropyl alcohol applied with sterile gauze or cotton swabs works equally well.
Gather sterile gauze pads or cotton swabs for application. Non-sterile materials reintroduce contamination. You’ll also need a clean, lint-free workspace; paper towels shed fibers that can land on your vial stopper. Sterile prep pads or clean, dry cloths are better choices.
Your workspace directly impacts sanitization effectiveness. Dust and debris can land on your vial stopper even after cleaning if your prep area isn’t controlled.
Start with a clean, dry surface. A laminar flow hood is ideal if available, but a clean desk works if you’re careful. Wipe down your work surface with 70% isopropyl alcohol and allow it to air dry completely before beginning.
Keep your materials organized within arm’s reach to avoid unnecessary movement. Ensure adequate lighting so you can see what you’re doing. Temperature and humidity matter too; extreme conditions can affect alcohol evaporation rates and compromise drying protocols.
Never assume a vial stopper is clean. Before sanitizing, inspect it visually for contamination, discoloration, or damage.
Look for discoloration or cloudiness on the rubber stopper. Check for visible particles, dust, or debris. If the stopper shows signs of coring (small rubber fragments from previous needle punctures), the vial integrity is compromised; consider discarding it. Run your fingertip gently across the stopper surface using a clean, gloved hand. You shouldn’t feel rough spots, cracks, or irregularities. Small puncture marks from previous needle insertions are normal and don’t require discarding the vial.
If the stopper passes visual inspection, proceed to sanitization. If you notice signs of degradation or visible contamination that won’t come clean, use a fresh vial.
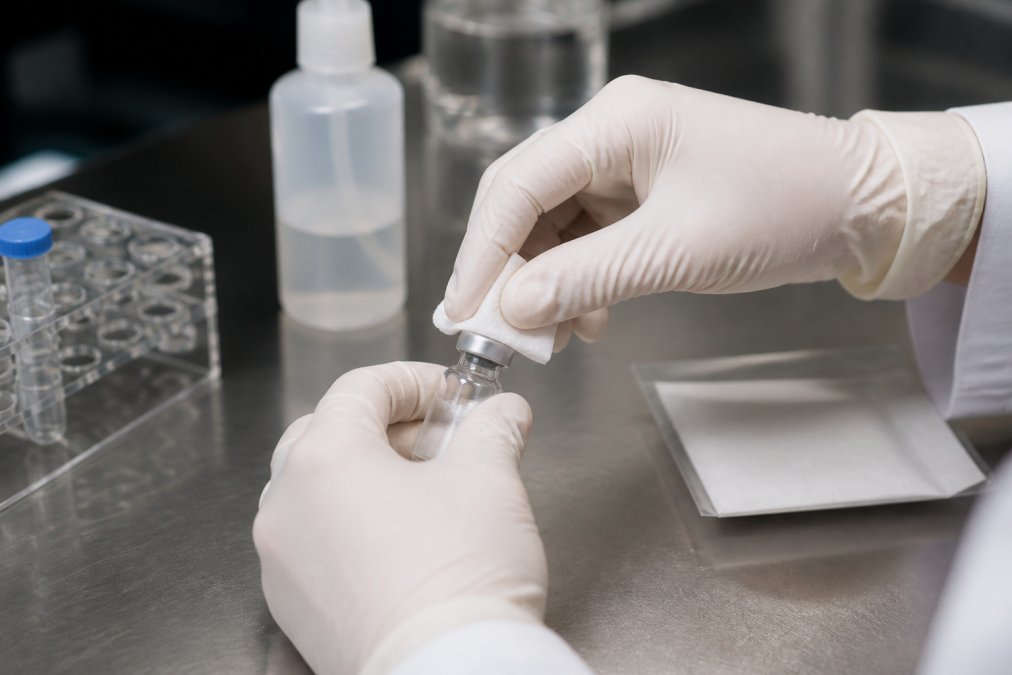
Take your sterile alcohol pad or apply 70% isopropyl alcohol to a sterile gauze pad. The pad should be saturated but not dripping. Place it directly on the rubber stopper and begin scrubbing with firm, circular motions. Apply consistent friction; this is essential. The mechanical action of scrubbing, combined with isopropyl alcohol’s disinfectant properties, kills pathogens and removes contamination.
Scrub for at least 10-15 seconds using circular motions. Cover the entire stopper surface, paying special attention to the center where needles typically insert. Don’t use a light, dabbing motion; that won’t generate enough friction to be effective. After scrubbing, let the alcohol air dry completely to ensure maximum contact time between the isopropyl alcohol and the stopper surface.
Drying time is critically important. Residual moisture on the stopper can reintroduce contamination or dilute your reconstitution solution if you inject immediately.
After scrubbing, allow the stopper to air dry completely. This typically takes 30-60 seconds depending on humidity and temperature. Don’t rush this step by blotting with a non-sterile cloth. Let gravity and evaporation do the work.
You’ll know the stopper is fully dry when it no longer appears wet or shiny. The surface should return to its normal matte appearance. Once dry, don’t touch the stopper with bare fingers. If you must handle the vial, use clean gloves or hold it by the body, not the stopper.
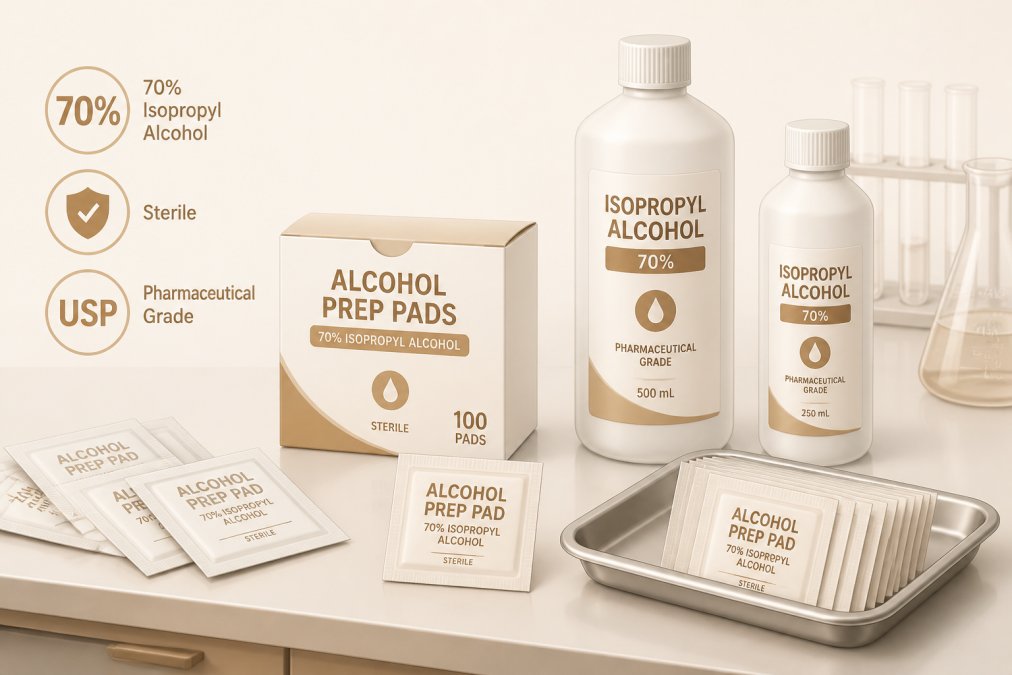
Alcohol pads designed for laboratory use come pre-saturated with 70% isopropyl alcohol and are individually wrapped to maintain sterility. These pads eliminate guesswork around alcohol concentration and are convenient for single-use applications.
Look for pads that explicitly state 70% isopropyl alcohol concentration. Some pads include glycerin to maintain moisture and extend contact time, which is acceptable and sometimes preferable. Individual sterile packaging is non-negotiable; once opened, pads begin to dry out and lose effectiveness.
Size matters too. You want a pad large enough to cover the entire stopper with one application. Consistency across your sanitization process reduces variables and improves reproducibility in your research.
Sanitizing the stopper is only one part of aseptic technique. Your entire process must follow sterile protocols to prevent contamination.
After sanitization and drying, wait at least 30 seconds before inserting a needle. This allows residual alcohol fumes to dissipate and ensures the stopper is completely dry.
When you’re ready to inject, use a sterile needle and syringe. Never reuse needles across multiple vials. Insert the needle at a slight angle rather than straight perpendicular to the stopper. This reduces the risk of coring, where rubber fragments are punched into the vial. Insert smoothly and deliberately. Once the needle is through, inject slowly and steadily. Rapid injection can compromise vial integrity.
After injection, withdraw the needle cleanly. Don’t wiggle or twist as you remove it; that enlarges the puncture hole and compromises the stopper’s ability to reseal properly.
Even with perfect sanitization technique, contamination can still occur. Knowing what to look for helps you catch problems early.
Visual contamination is the most obvious sign. Cloudiness, discoloration, or visible particles in the vial indicate microbial growth or chemical degradation. Unusual odors are another red flag; bacterial growth produces metabolic byproducts that often smell sour, vinegary, or putrid.
Changes in vial pressure can indicate contamination. Gas-producing bacteria generate pressure inside sealed vials. If your vial feels pressurized or you hear a hiss when opening it, contamination is likely. Precipitate formation or particles settling at the bottom suggest either contamination or chemical instability.
Reduced efficacy in your research is a downstream indicator. If your peptide batches suddenly stop producing expected results, contamination or degradation may be the cause.
Sanitization is only effective if you maintain sterility afterward. Store sanitized vials in a cool, dry environment. Most peptides benefit from storage between 2-8°C (refrigeration) or colder (-20°C or below) depending on the specific compound.
Keep vials upright in their original packaging or in a dedicated peptide storage container. Horizontal storage increases the surface area of the vial stopper exposed to the solution, potentially increasing leaching of rubber components.
Minimize light exposure. UV light accelerates peptide degradation. Store vials in opaque containers or in a dark refrigerator section.
Avoid repeated temperature cycling. Each time you remove a vial from cold storage and return it to room temperature, condensation can form on the stopper. Handle vials with clean gloves only. Never set a vial down on an unsanitized surface. Once sanitized, treat the vial as a sterile item.
Using the wrong alcohol concentration is one of the most common errors. Rubbing alcohol isn’t the same as pharmaceutical-grade 70% isopropyl alcohol. The additives can leave residue or interfere with peptide stability. Stick with pharmaceutical-grade isopropyl alcohol or pre-saturated sterile alcohol pads.
Scrubbing too lightly or for too short a duration reduces effectiveness. The friction and contact time are what kill pathogens. Commit to 10-15 seconds of firm, circular scrubbing every time.
Touching the stopper after sanitization reintroduces contamination immediately. Once sanitized and dried, treat it as sterile. Avoid contact with bare fingers or non-sterile surfaces.
Injecting before the stopper is completely dry dilutes the alcohol and can reintroduce moisture-based contamination. Reusing needles across multiple vials is a serious contamination risk. Each needle should be used once and discarded.
Neglecting to sanitize your workspace creates an environment where contamination is inevitable. Your prep area is just as important as your vial sanitization technique. Storing vials in unstable temperature conditions or on open shelves accelerates degradation and increases contamination risk.
Peptide research demands precision at every step, and sanitization of the vial stopper is where contamination prevention begins. The techniques covered here, firm circular scrubbing with 70% isopropyl alcohol, proper drying protocols, and sterile handling afterward, are the foundation of reliable aseptic technique.
Canada BioGenix supports researchers across the country with premium-quality research peptides and reconstitution products. Our commitment to transparency and consistency means you’re working with compounds that meet strict purity standards. Proper sanitization technique protects that investment and ensures your research produces reliable, reproducible results. Start with quality compounds, apply rigorous sanitization practices, and maintain sterile technique throughout, that’s how you protect your research and your results.
Sanitizing the rubber stopper removes pathogens and contaminants that can compromise vial integrity and introduce microbial growth into your peptide solution. Proper aseptic technique prevents contamination during needle insertion and reconstitution, ensuring your peptides remain sterile and effective throughout storage and use.
70% isopropyl alcohol is the gold standard for sanitizing peptide vial stoppers. This concentration provides optimal bacteriostatic properties and evaporates quickly without leaving residue. Avoid 90% or higher concentrations, as they evaporate too rapidly to be effective, and never use lower concentrations, which lack sufficient disinfectant power.
Allow the alcohol to air dry completely for at least 30 seconds before inserting a needle. Full drying time ensures the disinfectant has time to work effectively and eliminates residual moisture that could reintroduce contaminants. Inserting a needle into wet alcohol reduces sanitization effectiveness and compromises your aseptic technique.
Yes, you can reuse a vial stopper multiple times if it remains intact and shows no signs of coring or damage. However, each time you insert a needle, you create a small puncture in the rubber stopper. After multiple punctures, the stopper's ability to maintain vial integrity and prevent contamination degrades. For multi-dose vials, sanitize the stopper before each needle insertion and monitor for visible damage.
This article was written using GrandRanker