
Last Updated: September 2, 2026
A cloudy peptide solution signals that something has gone wrong during reconstitution, storage, or handling. The most common culprits fall into four categories: incomplete dissolution, aggregation, contamination, and chemical incompatibility.
The simplest explanation for cloudiness is often correct: the peptide powder hasn’t fully dissolved. When lyophilized peptides are reconstituted, all solid material should transition into solution. If particles remain suspended or settled at the bottom, the solution appears turbid or hazy.
This happens when solvent volume is too small, reconstitution time is too short, or mixing is inadequate. Some peptides require gentle warming or patient mixing over several minutes. Rushing the process or using insufficient solvent leaves partially dissolved peptide that looks cloudy.
The fix is straightforward: filter the solution through a sterile 0.2 μm syringe filter. If cloudiness clears after filtration, you had undissolved particles. If it remains cloudy, you’re dealing with a different problem.
Peptides can clump together under stress, forming larger clusters that scatter light and create visible cloudiness. This differs from undissolved particles, the peptide has dissolved, then reformed into insoluble aggregates.
Common triggers include pH shifts, temperature fluctuations, osmotic stress, and incompatible solvents. Room temperature storage for hours or improper temperature control promotes aggregation. Freeze-thaw cycles also trigger it, especially without proper buffering.
Once aggregation occurs, the peptide is often lost. Aggregated material won’t re-dissolve easily, and injecting it carries risks including localized inflammation or failed delivery.
Microbial growth produces cloudiness that develops over days or weeks. If your peptide solution was clear when reconstituted but turned cloudy after storage, contamination is likely. Bacteria and fungi secrete metabolic byproducts that cloud the solution.
Contamination occurs when aseptic technique fails during reconstitution or withdrawal, a non-sterile needle, unsterilized vial stopper, or exposure to non-sterile air introduces microorganisms. Once established, colonies multiply rapidly, especially without bacteriostatic preservatives.
Injecting contaminated solution introduces pathogens directly into your system, risking acute infection and exposure to endotoxins and inflammatory compounds.
Peptides have optimal pH ranges for solubility. If solvent pH is too far outside that range, the peptide can precipitate or gel. This is especially common with unbuffered water or saline.
Gelation occurs when pH causes the peptide to partially denature and cross-link with itself or other molecules, thickening into a gel-like consistency. Once gelation starts, it’s usually irreversible, and the vial should be discarded.
The short answer: in most cases, you should not inject a cloudy peptide solution. The risk outweighs any potential benefit.
If cloudiness is due to undissolved particles, filtering can remove the hazard. A 0.2 μm syringe filter will capture most particulate matter (peer-reviewed research). However, if cloudiness persists after filtration, or if you suspect aggregation, contamination, or gelation, the solution is unsafe. Injecting aggregated peptide causes localized inflammation, tissue damage, or systemic reactions. Injecting contaminated solution introduces pathogens directly into your bloodstream or tissues.
Complications can emerge hours or days later, including sterile abscess formation, granulomas, or systemic infection. Treat a cloudy peptide solution as compromised until proven otherwise.
Getting reconstitution right from the start prevents most cloudiness problems.
Your solvent choice sets the foundation for everything that follows.
Bacteriostatic water contains 0.9% benzyl alcohol, which inhibits bacterial growth. This makes it ideal for multi-dose vials where you’ll withdraw solution multiple times over days or weeks. The preservative extends usable life to 28 days or longer (peer-reviewed research).
Sterile water contains no preservatives, making it suitable for single-dose applications or peptides sensitive to benzyl alcohol. It’s less expensive per milliliter but must be discarded after opening.
For most users, bacteriostatic water makes economic and practical sense despite higher per-unit cost.
Follow this process precisely to minimize contamination and ensure complete dissolution.
Prepare your workspace. Clean a flat surface with 70% isopropyl alcohol. Gather all materials: peptide vial, solvent, sterile syringes, sterile needles, alcohol swabs. Do not touch sterile surfaces with bare hands.
Inspect the peptide vial. Look for cracks, discoloration, or signs of prior opening. Do not use compromised vials.
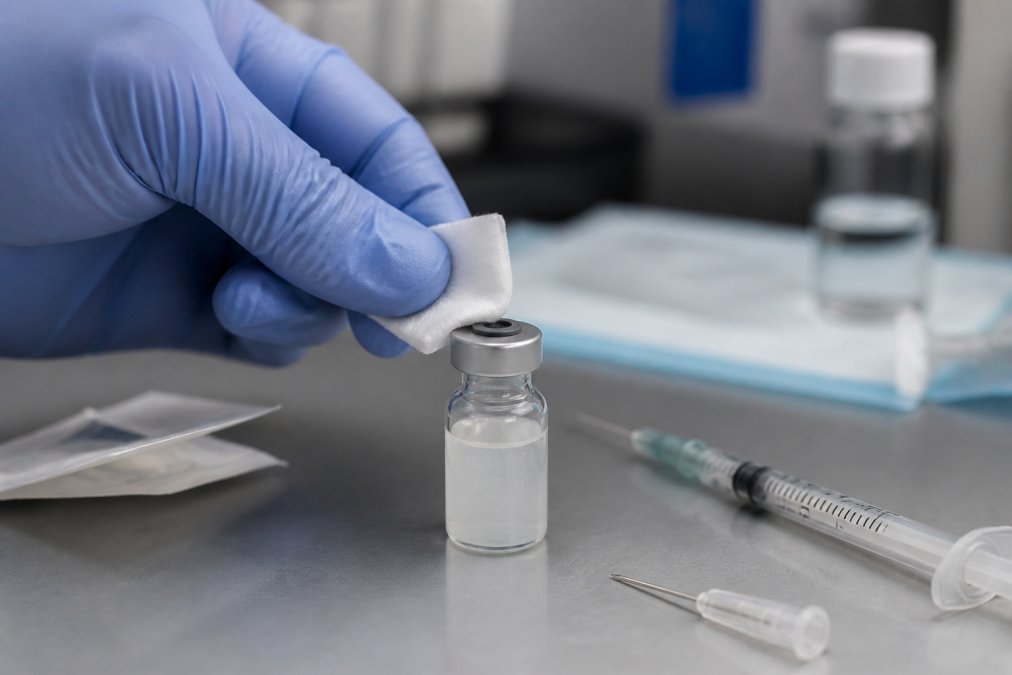
Sterilize the vial stopper. Use an alcohol swab to clean the rubber stopper in circular motions for at least 30 seconds, allowing it to dry completely (the CDC).
Draw up the solvent. Using a sterile syringe and needle, withdraw the calculated volume of solvent.
Inject the solvent into the peptide vial. Insert the needle through the sterilized stopper and slowly inject. Do not force it.
Let it sit briefly. Wait 2-5 minutes without shaking to allow hydration.
Mix gently. Rotate the vial slowly between your palms or roll it gently on a clean surface for 1-2 minutes. Do not shake vigorously.
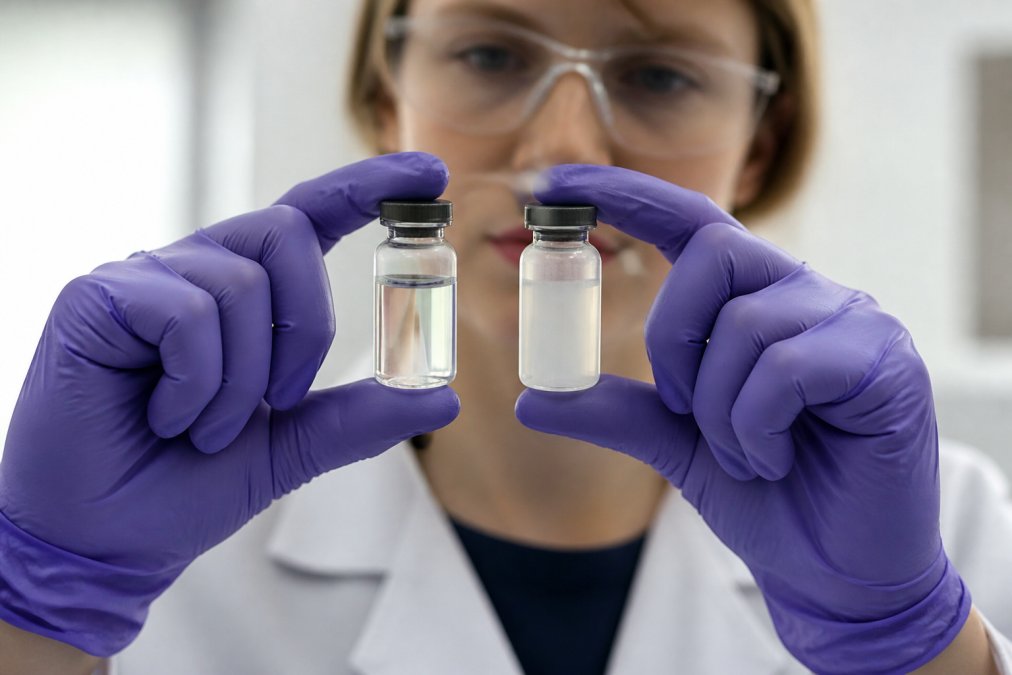
Inspect the final solution. Hold the vial up to light and look for particles, cloudiness, or discoloration. If cloudy, wait a few minutes and inspect again.
Label and store. Write the reconstitution date, peptide name, solvent type, and concentration on the vial. Store at 2-8°C for 28 days if reconstituted with bacteriostatic water.
| Step | Duration | Key Point |
|---|---|---|
| Workspace prep | 5 minutes | Eliminate contamination sources |
| Vial stopper sterilization | 30 seconds | Alcohol must dry completely |
| Solvent injection | 1-2 minutes | Inject slowly, no force |
| Hydration wait | 2-5 minutes | Allows powder to begin dissolving |
| Gentle mixing | 1-2 minutes | Rotate, don’t shake; prevents aggregation |
| Final inspection | 2 minutes | Confirm clarity before storage |
| Labeling | 2 minutes | Document everything for traceability |
Aseptic technique is the discipline of handling sterile materials without introducing contamination. Keep all sterile materials in their packaging until use. Never touch needle tips or syringe interiors. If a sterile item touches a non-sterile surface, discard it.
Work in a clean, quiet environment. Avoid drafts and air currents. Use new sterile needles and syringes for each step. Do not reuse needles.
Wash your hands thoroughly before beginning, and consider wearing sterile gloves if available.
The vial stopper is your gateway to the peptide solution. Proper sanitization before each withdrawal is essential.
Use a sterile alcohol swab (70% isopropyl alcohol) and wipe the entire top of the vial stopper in circular motions, starting from the center and working outward. Apply firm pressure for at least 30 seconds. Let the alcohol air dry completely before inserting your sterile needle.
For repeated withdrawals from the same vial, sanitize the stopper before each withdrawal.
Peptides degrade over time, especially under poor storage conditions.
Visual signs of degradation:
Functional signs of degradation:
Storage-related degradation:
Peptides are sensitive to temperature, light, and pH. Room temperature storage for weeks or sunlight exposure causes degradation. Freeze-thaw cycles also damage peptides.
When to discard:
Discard a vial immediately if it shows visible cloudiness that doesn’t clear after filtration, has gelified, shows signs of contamination, has been stored improperly, exceeds 28 days since reconstitution (bacteriostatic water) or 24 hours (sterile water), or shows any visible degradation signs.
The cost of a single vial is far less than the risk of injecting degraded or contaminated material. When in doubt, discard.
Most peptide problems stem from preventable mistakes.
Mistake 1: Rushing reconstitution. Peptides need time to dissolve. Some require 5-10 minutes of gentle mixing. Check documentation for specific times.
Mistake 2: Using non-sterile equipment. A single non-sterile syringe or needle contaminates an entire vial. Always use sterile, individually packaged equipment.
Mistake 3: Skipping vial stopper sanitization. Every withdrawal requires a fresh alcohol swab and full 30-second wipe.
Mistake 4: Storing at room temperature. Peptides degrade rapidly at room temperature. Always store at 2-8°C unless documentation specifies otherwise.
Mistake 5: Reusing needles. Each puncture leaves microscopic rubber particles on the needle. Use fresh sterile needles for each step.
Mistake 6: Mixing aggressively. Vigorous shaking causes peptide aggregation. Mix gently by rotating or rolling the vial.
Mistake 7: Ignoring reconstitution dates. Discard vials once the reconstitution date passes, even if they look clear.
Mistake 8: Assuming all solvents are equivalent. Bacteriostatic water and sterile water serve different purposes. Check documentation.
If your peptide solution is cloudy, follow this systematic approach.
Step 1: Inspect visually. Hold the vial up to bright light. Is cloudiness uniform or settled at the bottom? Uniform suggests aggregation or contamination. Settled material suggests undissolved particles.
Step 2: Check reconstitution timeline. When was the vial reconstituted? Cloudiness appearing within hours suggests contamination or temperature-induced aggregation. Weeks later suggests degradation.
Step 3: Assess storage conditions. Has the vial been stored at correct temperature? Room temperature storage promotes aggregation or microbial growth. Multiple freeze-thaw cycles promote aggregation.
Step 4: Attempt filtration. Draw a small amount into a sterile syringe and pass through a 0.2 μm syringe filter. Clear filtrate indicates undissolved particles or particulate contamination. Cloudy filtrate indicates aggregation, gelation, or dissolved contaminants.
Step 5: Assess the risk. Even if filtration clears cloudiness, ask: do I know the cause? If uncertain whether the solution is contaminated, don’t inject it.
Step 6: Document and discard if necessary. If the vial is unsafe, document the issue and discard it. This information helps identify patterns and avoid future mistakes.
A cloudy peptide solution signals that something went wrong. The most important skill is recognizing that signal early and responding appropriately. At Canada BioGenix, we emphasize that peptide quality starts with reconstitution and storage practices. By following proper aseptic technique, choosing the right solvent, and maintaining strict storage discipline, you eliminate most causes of cloudiness before they occur. When cloudiness appears, the troubleshooting steps above provide a systematic way to assess the situation and make a safe decision. Your safety depends on your willingness to discard a vial when risk is unclear, and that’s not a loss, it’s protection.
A: Not necessarily. Cloudiness can indicate incomplete reconstitution, peptide aggregation, contamination, or degradation. If cloudiness appeared after proper reconstitution and storage, the solution may contain particulates or bacterial growth that could cause injection complications. If the vial was stored incorrectly or appears cloudy immediately after reconstitution, discard it. When in doubt, do not use the solution. Safety depends on identifying the cause first.
A: The biggest mistakes are: using non-sterile water or contaminated syringes, failing to sanitize the vial stopper before withdrawal, reconstituting at room temperature when refrigeration is required, adding solvent too quickly causing aggregation, and not allowing adequate time for the lyophilized powder to fully dissolve. Each error increases the risk of cloudiness, degradation, or contamination. Follow aseptic technique strictly and allow 5-10 minutes for complete dissolution.
A: Signs of peptide degradation include cloudiness, visible particles or precipitate, discoloration, unusual odor, gelation (thickening), or changes in viscosity. If the solution was clear when first reconstituted but became cloudy during storage, degradation or contamination likely occurred. Check your storage temperature, peptides stored above recommended temperatures degrade faster. If any visual or olfactory changes appear, discard the vial immediately.
A: Bacteriostatic water (containing 0.9% benzyl alcohol) is ideal for multi-dose applications because the preservative inhibits bacterial growth, extending shelf life to approximately 28 days. Sterile water is better for single-use applications or when benzyl alcohol would interfere with your research. Both must be sterile and non-pyrogenic. Check your peptide’s documentation for specific solvent recommendations, as some peptides require pH-buffered solutions or saline. Never use tap water or non-sterile solutions.
This article was written using GrandRanker